This is a continuation of the Universal Smartphone Microscope Part 1 entry.
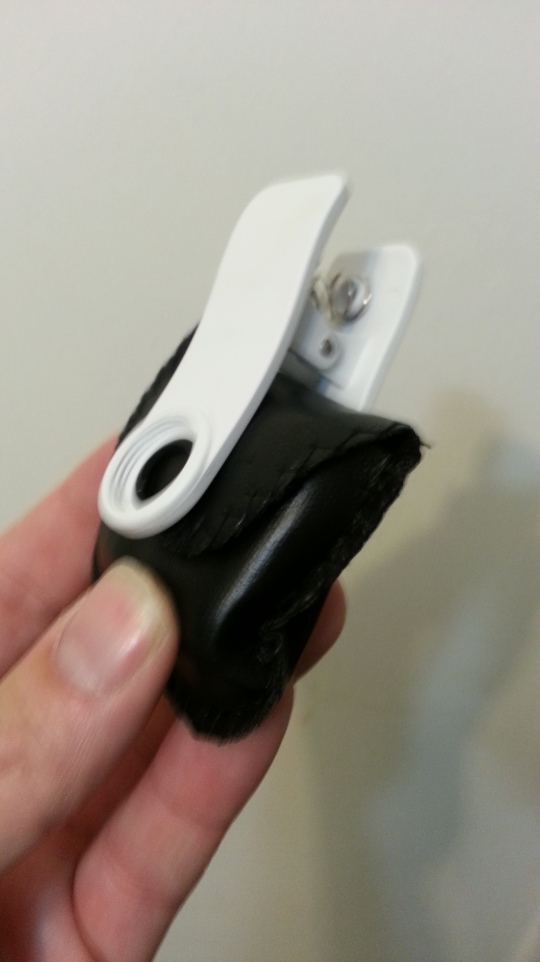
So now that we’ve seen most of the characteristics of the Smartphone Microscope, let’s test it out. Right off the bat there is a small defect – the microscope comes with a leatherette carrying case, but that holds just the microscope part, not the clamp. So we kind of had to improvise:
Now we attached the microscope to the smartphone. It very quickly becomes apparent that aligning the microscope to the smartphone camera lens isn’t hard, but getting it aligned exactly is much harder. This will become apparent when we start using the microscope.
When you first attach it and do some basic alignment you will note there is a lot of vignetting – so you will need to zoom in by using your touchscreen.
We started off taking images of a coin. A penny to be exact. The attached light was on and we had some struggles with the focuser. For our pruposes this the extending tube to focus may not be useful at all – we could have glued it down and saved some trouble. But we weren’t doing all microscope techniques, nor did our Smartphone have a caryying case to work over. Here is how the penny looked:

Not a bad image, although there is some glare from the light coming from the side – this side-lighting does have the advantage of giving some depth to three dimensional objects, but lacks the diversity of a ring-light illumination or inspection microscope’s top-down illumination.
You may also notice the image is a bit out of focus at the far left and right parts of the image. Better alignment might have solved this issue.
For fun I took an image of my finger:

Then an image of a part of a magazine cover that was lying around:

Then it was time to see how it does with other items, we took some microscope slides we had in the store. The first was a slide with 3 cross sections of plant leaves. Only two were visible i nthe field of view.

We tried to move back and take an image of an housefly leg, but there were issues with focusing because the slide had been damaged before we tried to use it (the cover slip had lots of cracks)

The final slide was some paramecium, we first tried it to see if there was a difference if we just used the UV light:

There is a bit of a difference as you can see from the image taken under white light:

Finally, just for tradition an image of a letter ‘S’ on a blue background was taken:
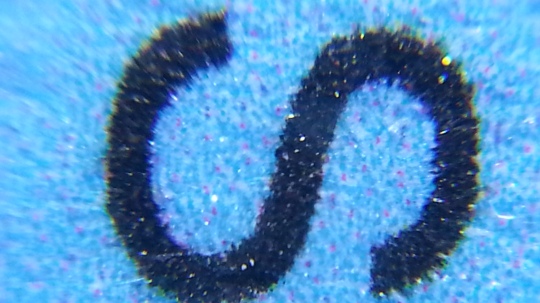
As you can see if you expand these images, there was still some blurring at the edges. If had taken more time aligning the microscope we might have resolved this issue, but all things considered, we were impressed with the images we got, especially given that this is just a $12.95 microscope!
In conclusion – the Universal Smartphone Microscope is not a replacement for an actual microscope – mostly due to the edge focus and other minor issues – but for a low price you can have a decently powered microscope camera in the palm of your hand!
Want to buy the Universal Smartphone Microscope?
www.spectrum-scientifics.com


